
The Social Planner is where you schedule and publish everything you put out on social media. You can write a single post, set up recurring and evergreen posts, publish reels and stories, or bulk upload from a CSV file, then see how they performed.
Add Socials
Add Socials
Before you can post, you need to connect your accounts. You can connect Facebook, Instagram, LinkedIn, TikTok, YouTube, Pinterest, Threads, Bluesky, Google Business Profile, and your Growth Catalyst community.
- Go to Marketing > Social Planner.
- Click + Connect on the platform you want and follow the on-screen instructions.
- Repeat for any other platforms, then click Get Started.
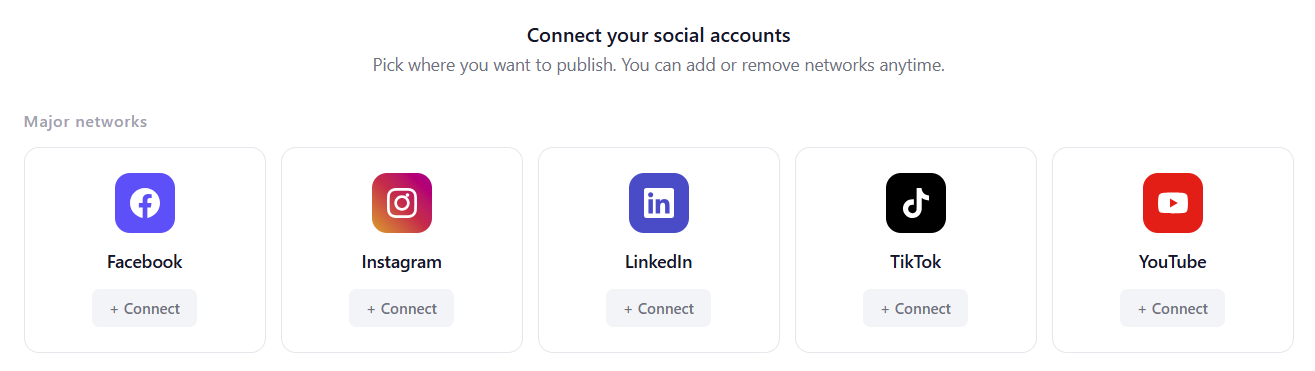
You can connect more accounts later using the + Socials button or the settings cog.
Create Posts
Create New Post
- Go to Marketing > Social Planner and click the blue New Post button in the top right corner. Select Create New Post. If you are in Calendar view, hover over a date and click the + icon instead.
- In the Post To dropdown, choose the account(s) you want to post to.
- Type your content in the editor box. Use the icons along the bottom of the editor to add emojis, images, videos, files, hashtags, custom values, shortened links, or locations.
- For Facebook and Instagram, select whether you are posting it as a feed post, reel, or story.
A preview of your post will appear on the right-hand side as you add content.
Follow Up Comment
You have the option to add a follow-up comment on some channels, which is the first automatic comment that goes on the post.
Post
Once your post is complete, you can choose how to publish it. You can either select Save for Later, which saves the post as a draft, or press Post. When you press Post, you’ll see four options (Post Now, Schedule Post, Send for Approval, and Schedule Recurring Post).
Post Now will publish your post immediately without a confirmation screen. Schedule Post will open a pop-up window where you can select the date and time. Schedule Recurring Post will open a pop-up window where you can set the frequency, date range, and post time.
Instagram and Facebook Stories
Stories allow you to share images and videos in a slideshow format that disappears after 24 hours. Each image or video lasts up to 15 seconds and you can combine multiple slides to create a longer narrative throughout the day. Stories are visible to your followers and by those who visit your public profile.
Instagram Reels
Reels are specifically designed for short video content with a maximum duration of up to three minutes. They often feature creative effects, stickers, music, and playback speed options, giving content creators more flexibility in how they present content. Reels are visible to any user, which can help increase exposure, drive engagement, and attract new followers.
Upload Limits
When creating a Story or Reel on Facebook or Instagram, you can upload images up to 10MB, videos up to 100MB, and include a maximum of 10 images or videos in a single post.
Social Planner Dashboard
Social Planner Dashboard
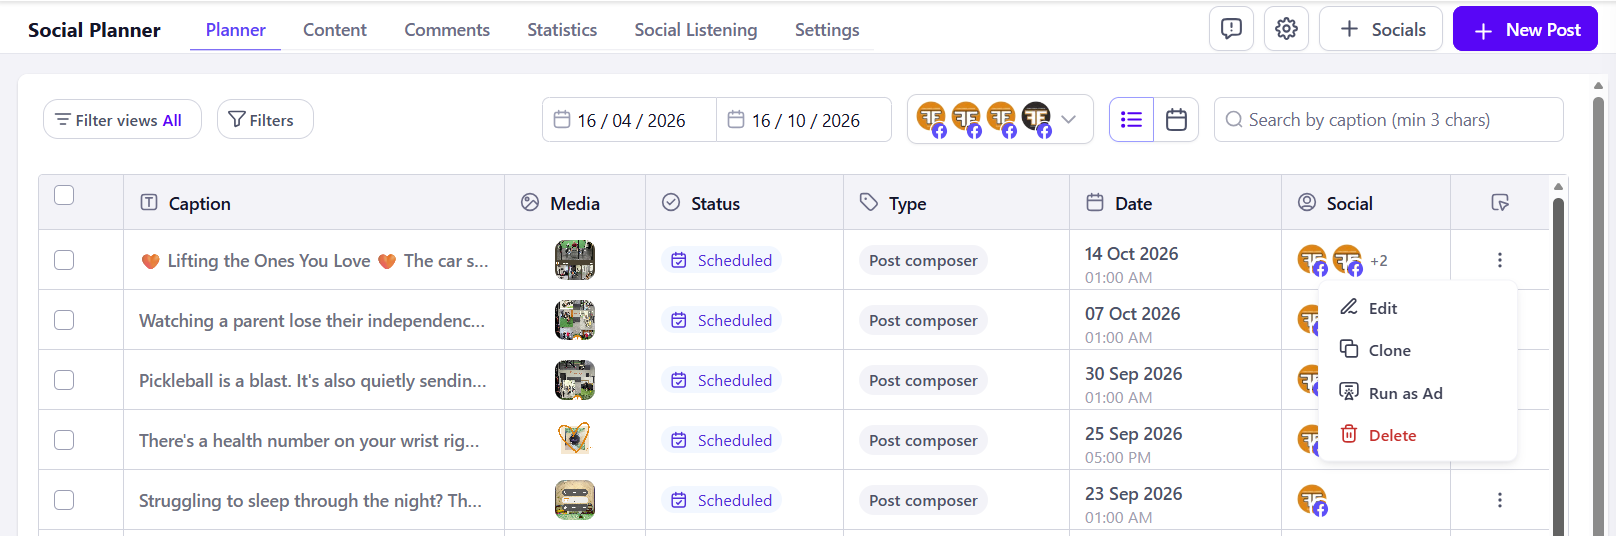
The Social Planner dashboard gives an overview of your posts. You can toggle between List view and Calendar view, and access the Social Planner Settings.
Each post also displays its caption, media, status (Published, Failed, Scheduled, Draft, or In Review), date, and social platform. Clicking on a post will open a preview panel so you can view it in full.
Filters and Filter Views
The Filters option allows you to refine posts by content type, status (published, scheduled, or draft), created by, and more categories. Once you apply a filter, you can save it as a view by clicking Save as View in the panel that appears. Saved views can then be selected directly from the dashboard under Filter Views, or you can create a new view at any time.
Ellipsis Menu Options
Click on the ellipsis menu (⋮) to view available options. These include Edit, Clone, Run as Ad, and Delete.
To delete multiple posts, check the boxes next to the required posts and press Delete in the menu bar.
When editing a scheduled post, you can update the content or change the scheduled date and time. Avoid editing within one hour of the scheduled publish time, as the post may already be queued on the servers.
Social Group
If you regularly post to the same set of accounts, you can put them in a Social Group and post to all of them in one go.
Click on the account icons in the toolbar to open the drop-down. From here you can filter the list by group or by individual account, and you can create a group or connect another account without leaving the page. Groups can also be created while you are creating a post.
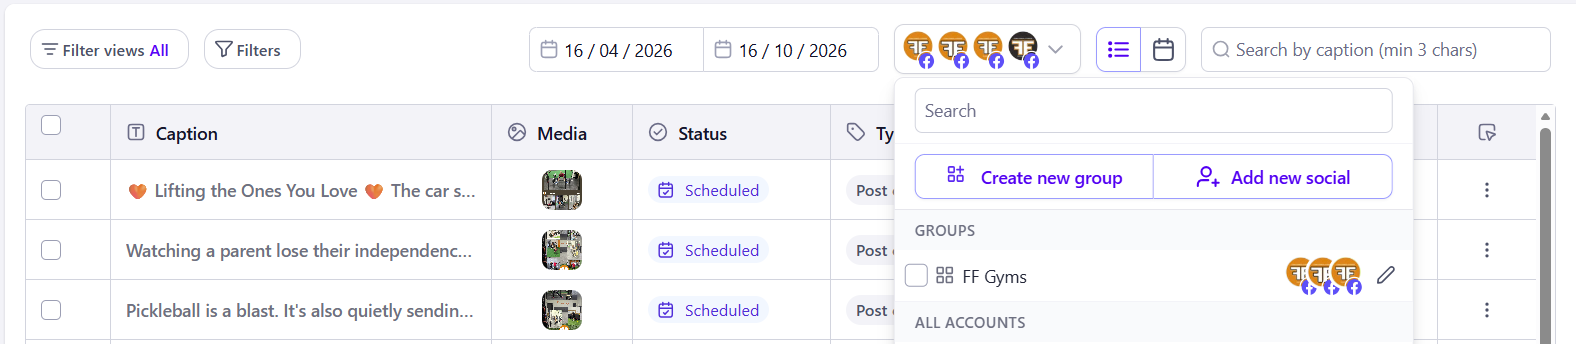
- Click on the account icons in the toolbar and press Create New Group.
- Enter the Group Name.
- Click on Add Accounts to Group, select your social channels and press Create.
Edit or Delete Social Group
To rename a group, change which accounts are in it, or delete it, click on the pencil icon next to the group name.
Social Planner Calendar
Social Planner Calendar
To see a calendar overview of your posts, click on Open Planner in the top right of the Social Planner dashboard. You will see published posts (green clock icon), draft posts (black down icon) and scheduled posts (orange clock icon).
To edit, duplicate or delete a draft or scheduled post, click on the ellipsis menu (⋮) in the top right corner of that post. You can drag and drop scheduled posts to change their scheduled date (the time remains the same).
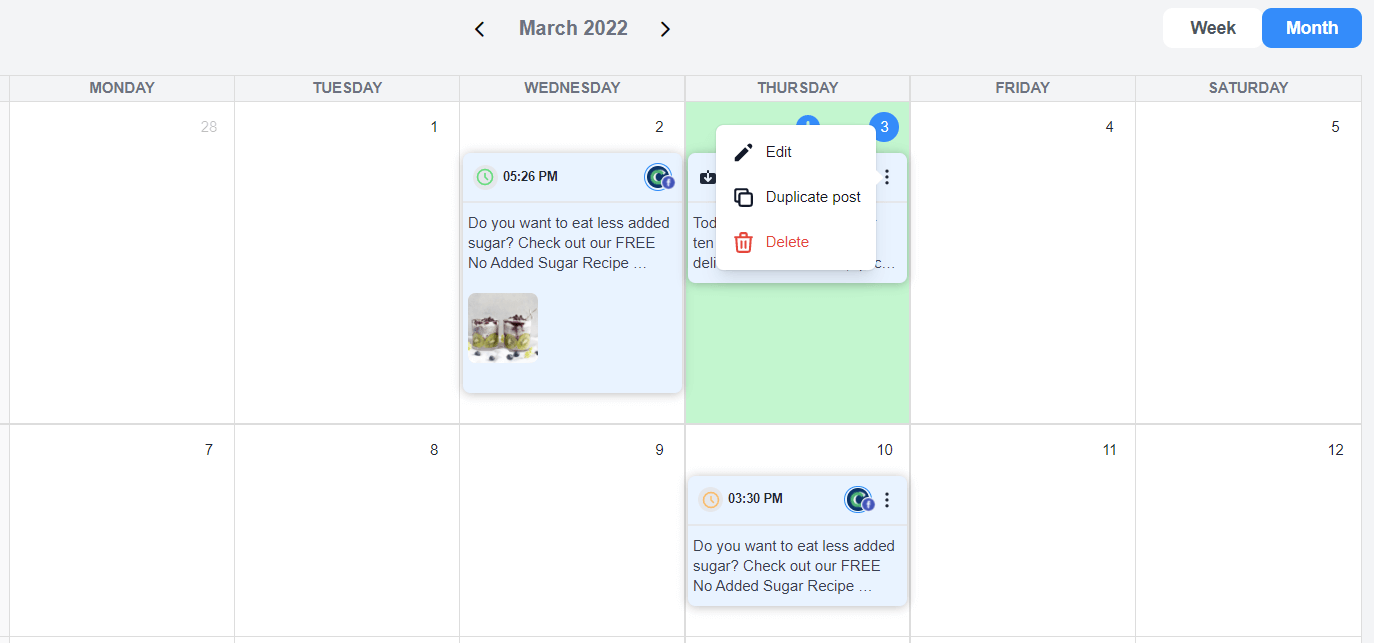
You can change the calendar view from Month to Week by toggling the options in the top right corner. You can change the dates by clicking on the forward and back arrows on either side of the current date.
Post Statistics
Post Statistics
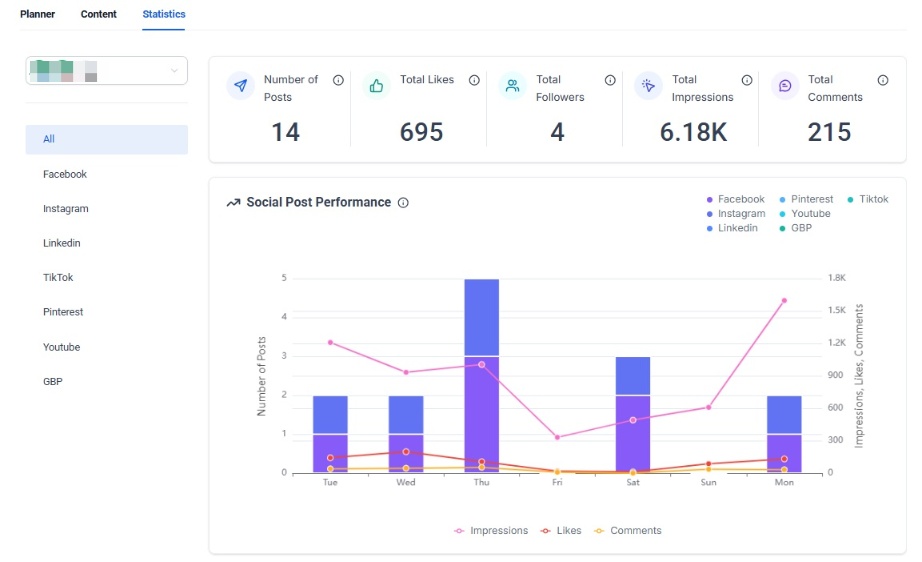
From the Social Planner Dashboard, click on the Statistics tab to view detailed insights into your posts. By default, the statistics show the last 7 days and include totals for posts, likes, followers, impressions, comments, engagement, and post reach. You’ll also see your top-performing posts and audience information such as gender and age demographics. Results are displayed in clear graphs and can be filtered by channel (for example, Facebook or Instagram).
Content AI
Content Ai
You can use the inbuilt AI tools to create or improve content. For text, click on the AI button in the toolbar. The system will guide you through options like generating text, improving grammar, adjusting tone, or changing length. Just click on the option you want and follow the on-screen prompts. You’ll be asked to provide any details needed to refine the output.
If you’d like to go further, you can set a custom brand voice under Marketing > Brand Board > Brand Voice.
Image Ai
If you want to revisit text or images created with AI, go to AI Agents > Content AI. From there, you can toggle between text and image to view your previously generated content.
Content Ai Costs
Content AI and Image AI are premium features that are charged based on usage. The first 500 words of text are free, and after that the price is $0.15 per 1,000 words generated. Image AI is $0.096 per image generated. For reference, $10 will give you about 105 images or more than 65,000 words.
CSV Bulk Upload Posts
Bulk Upload Posts
When creating a new post, you can also choose the option to upload from a CSV file. This allows you to bulk-upload posts from either a CSV or an Excel spreadsheet. A basic format is supported, using columns for date, text, link, and picture. There is also an advanced format that supports stories, reels, shorts, and additional categories used with Google Business Profile.
To get started, it is best to download the sample file provided — available in both CSV and XLSX formats — and use that as a template. Once your file is ready, re-upload it, select the social accounts you want to post to, and review the content before confirming.
Managing Accounts
Manage Accounts
You can access the Social Planner Settings by clicking on the cog icon. From here, you can connect new social accounts or delete any that you no longer want linked. If you are using Growth Catalyst CRM Communities, you can edit those settings directly. You can also manage your Pinterest boards, adjust your categories, add or change your watermark, and update your global settings.
Email Notifications for Expired Accounts
Within the Social Planner Settings, you can manage notifications for key events. This includes alerts when a social account is about to expire, when an account has expired, and when a post has failed. You can also set notifications for post approvals.
To adjust these, go to the Notifications tab, toggle on the alerts you want to receive, and use the pencil icon to edit the details. Since some platforms, such as Meta, only provide tokens that last around 90 days, these alerts can be particularly useful for ensuring your accounts stay connected without interruption.
Failed Posts
Failed Posts
There are a number of reasons why a post may fail. For example, if the content goes against Facebook’s Community Standards or has been reported by other users as abusive, the post will not be published. You can view failed posts by opening the Filters tab and selecting Failed Posts.